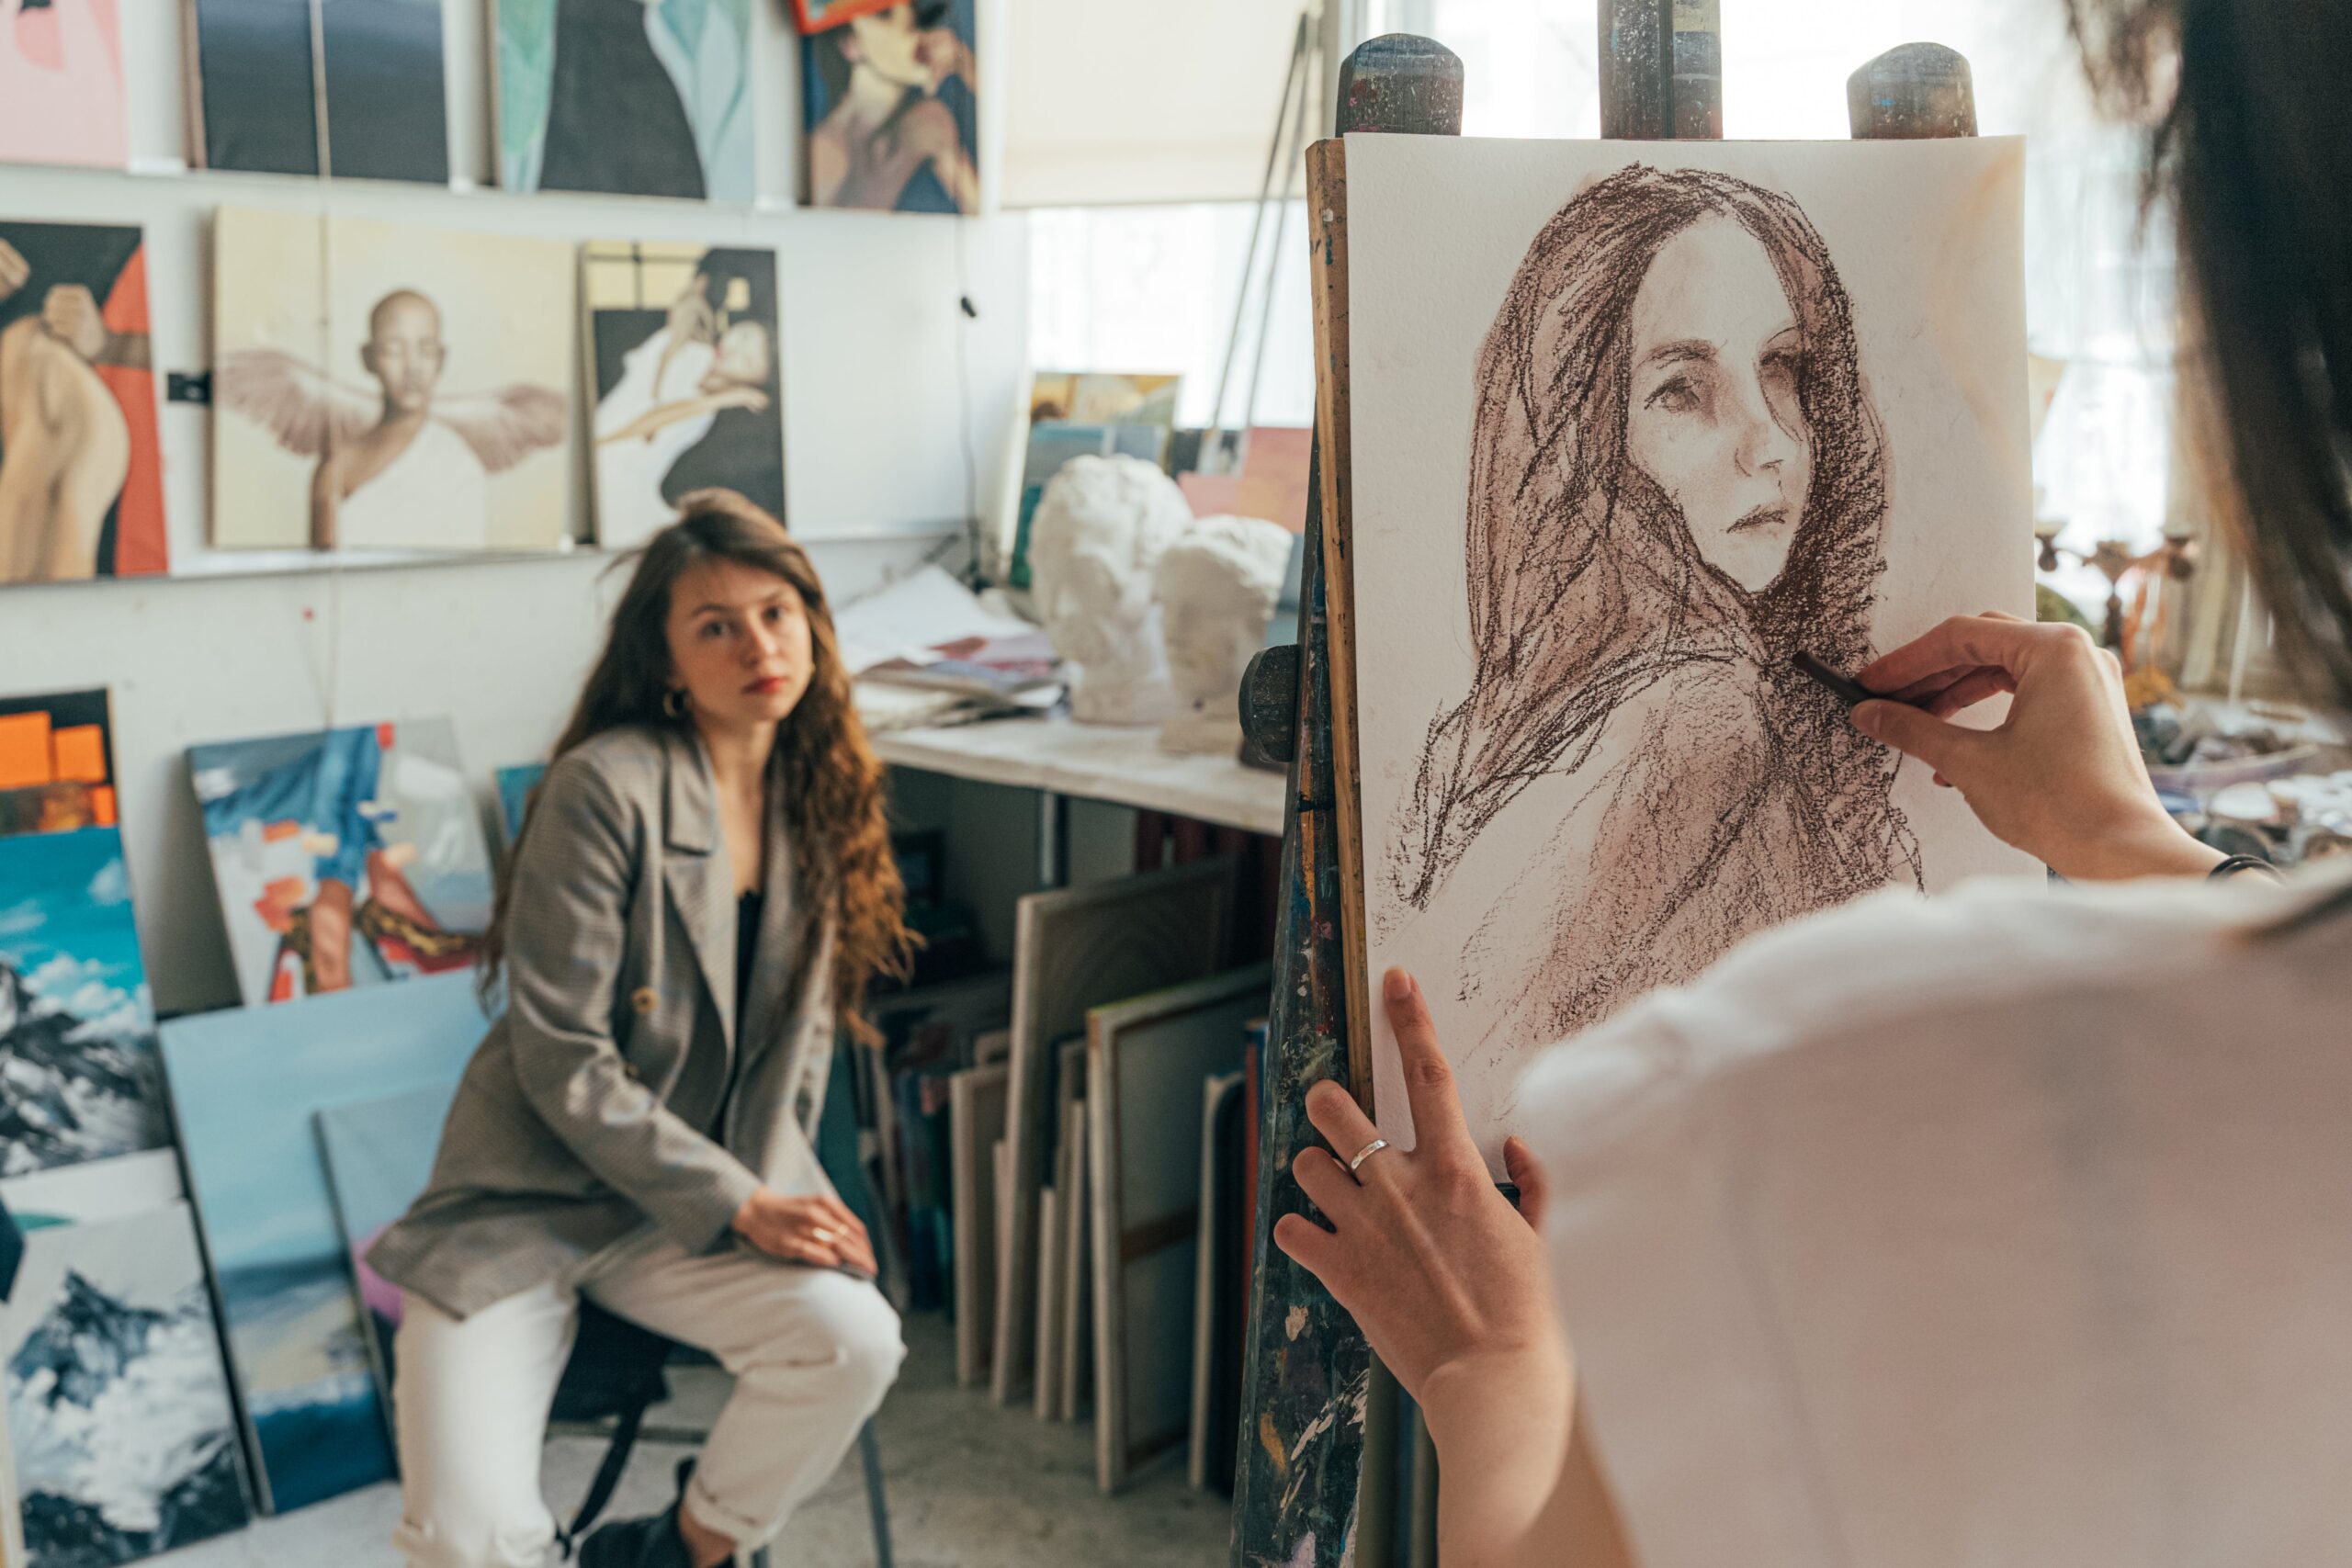
Drawing realistic portraits is a captivating art form that allows artists to capture the essence and personality of their subjects. Whether you’re a seasoned artist looking to refine your portrait-drawing skills or a beginner eager to explore this rewarding craft, this step-by-step guide will provide you with the fundamental principles and techniques to create lifelike portraits.
Step 1: Gather Your Materials
Before you start your portrait, it’s essential to gather the necessary materials:
1. Drawing Paper
Choose high-quality, acid-free paper that is suitable for your chosen drawing medium (pencil, charcoal, or graphite).
2. Drawing Tools
Select a range of pencils or charcoal sticks with varying hardness (e.g., 2H, HB, 2B, 4B, 6B) to achieve different levels of darkness and detail.
3. Erasers
Have both kneaded erasers and standard erasers on hand for precise erasing and highlights.
4. Blending Tools
Consider using blending stumps, tortillons, or your fingers to smudge and blend the shading.
5. Reference Photo
Choose a clear and well-lit reference photo of your subject. It’s crucial to have a detailed image to work from.
6. Drawing Board
Use a drawing board or a flat surface to support your paper and keep it steady.
Step 2: Study Facial Anatomy
Understanding facial anatomy is essential for drawing realistic portraits. Study the basic proportions and features of the face:
– The average human face is about five eye-widths wide.
– The eyes are positioned in the middle of the face, with one eye-width of space between them.
– The nose typically extends to the halfway point between the eyes and chin.
– The mouth is usually located halfway between the nose and chin.
Take the time to observe and sketch the different facial features separately before attempting a complete portrait. This will help you grasp the nuances of each element.
Step 3: Establish the Face’s Basic Structure
Start your portrait by lightly sketching the basic structure of the face. Begin with a simple oval shape for the head, positioning it slightly off-center on your paper to create a more dynamic composition.Next, draw a vertical line down the center of the oval to help you align the facial features accurately. This line will serve as a guide for symmetry.
Step 4: Block in the Features
With the face’s basic structure in place, begin to block in the major features of the face: the eyes, nose, and mouth. Pay attention to their positioning relative to the vertical guideline.
Eyes
Divide the face’s width into five equal segments. The eyes should be positioned in the middle segment. Start with the inner corners of the eyes and work your way out, paying close attention to their shape and size.
Nose
Place the bottom of the nose on the guideline, typically around the halfway point between the eyes and chin. Sketch the nose’s basic shape, considering the nostrils and bridge.
Mouth
Position the mouth slightly below the halfway point between the nose and chin. Sketch the lips and their contours, focusing on the upper lip’s curvature and the lower lip’s fullness.
Step 5: Define the Face’s Contours
Once you’ve blocked in the features, start defining the contours of the face more precisely. Pay attention to the curves and angles that make each feature unique. Use light, continuous lines to create subtle variations in tone that mimic the contours of the face.
Step 6: Develop the Eyes
The eyes are often considered the focal point of a portrait. To make them more realistic:
– Add depth by shading the eyelids and the area around the eyes.
– Define the iris and pupil, leaving small highlights to create a sense of life and sparkle.
– Shade the whites of the eyes to make them appear three-dimensional.
Step 7: Refine the Nose and Mouth
Continue to refine the nose and mouth by adding shading and detail:
– Shade the sides of the nose to create dimension, paying attention to the play of light and shadow.
– Add subtle highlights to the bridge of the nose.
– Define the lips by adding shadows along their edges and highlighting their curves.
Step 8: Work on the Ears and Hair
Move on to the ears and hair:
– Sketch the ears, paying attention to their shape and positioning relative to the eyes and nose.
– Begin adding hair by lightly sketching its general direction and flow. Keep in mind that hair is not a uniform mass but comprises individual strands and clumps.
Step 9: Focus on the Details
Now it’s time to refine the smaller details of the face, such as eyebrows, eyelashes, and skin texture:
– Draw the eyebrows with short, fine lines that mimic the direction of hair growth.
– Add eyelashes to the upper eyelids, making them longer and more prominent than the lower lashes.
– Pay attention to the texture of the skin, especially areas with fine lines, wrinkles, or freckles.
Step 10: Shade and Texture the Skin
Creating realistic skin texture is crucial for lifelike portraits. Use a combination of hatching, cross-hatching, and stippling techniques to achieve the desired skin texture:
– Build up layers of shading to create smooth transitions between light and shadow.
– Pay close attention to areas like the forehead, cheeks, and chin, where skin may have highlights and shadows.
– Use an eraser to lift off highlights on the nose, forehead, and cheekbones, adding a sense of depth and luminosity.
Step 11: Add Final Touches
As you approach the final stages of your portrait, make subtle adjustments and refinements:
– Compare your drawing to the reference photo to ensure accuracy.
– Adjust the shading to create a sense of volume and form.
– Fine-tune details like highlights, shadows, and facial expressions to capture the subject’s likeness.
Step 12: Sign Your Work
Once you’re satisfied with your portrait, it’s time to sign your artwork. Sign it discreetly in the corner, using a fine pen or pencil, to avoid distracting from the portrait itself.
Conclusion
Drawing realistic portraits is a skill that requires practice, patience, and a keen eye for detail. By following this step-by-step guide and continuously honing your skills, you can create lifelike portraits that capture the essence and personality of your subjects. Remember that every artist has their unique style and approach, so don’t be discouraged by imperfections. Embrace the journey of portrait drawing, and over time, you’ll see your ability to convey meaning through your artwork grow and evolve.


