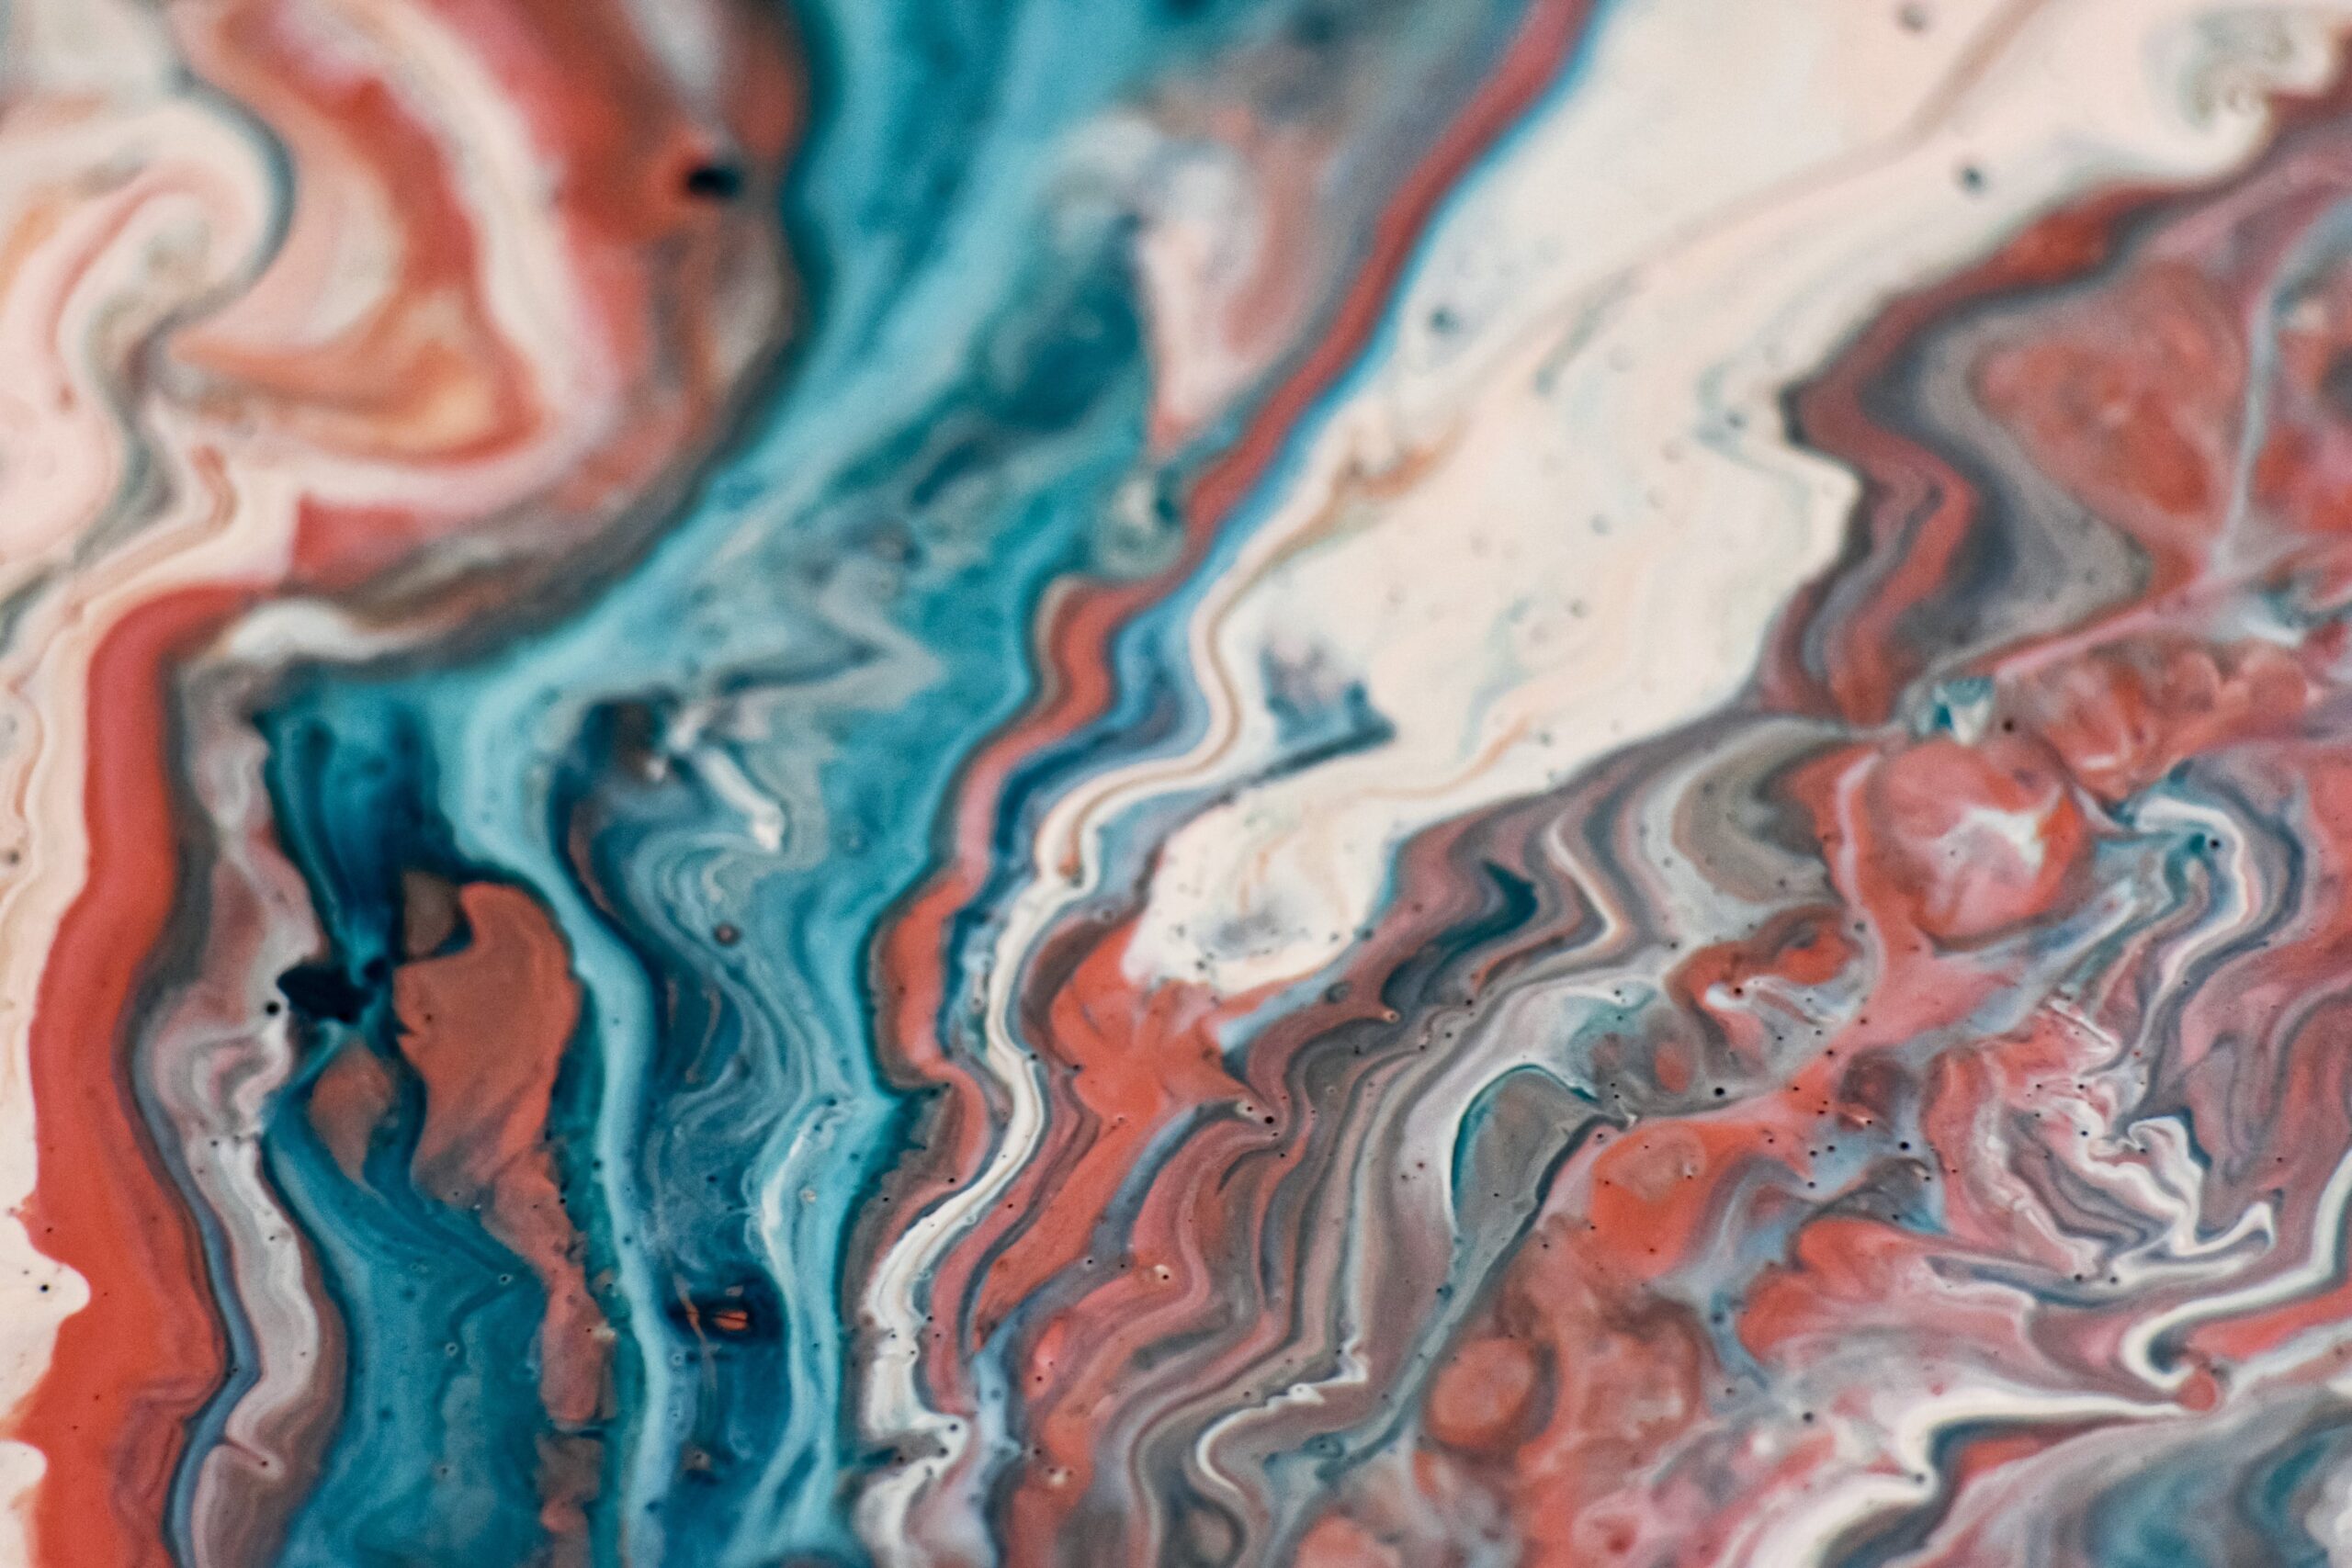
Acrylic pouring, also known as fluid art, is a mesmerizing and captivating technique that allows artists to create stunning abstract artwork using the versatile medium of acrylic paint. This method involves pouring, dripping, and manipulating acrylic paint to create intricate patterns, vivid colors, and mesmerizing textures. Whether you’re an experienced artist or a beginner looking to explore a new form of artistic expression, this guide to acrylic pouring will provide you with the essential knowledge and techniques to create your own captivating abstract masterpieces.
Materials You’ll Need
Before you begin your acrylic pouring journey, it’s crucial to gather the necessary materials. Here’s what you’ll need:
1. Acrylic Paint
Use high-quality acrylic paint in a variety of colors. Explore different brands and consistencies (fluid, heavy body, or soft body) to achieve various effects.
2. Pouring Medium
A pouring medium is essential for creating the right consistency for pouring. It helps to maintain the paint’s integrity and prevents it from cracking as it dries. You can buy pre-made pouring mediums or create your own by mixing equal parts of water and white glue.
3. Surface
Choose a suitable surface for your artwork, such as stretched canvas, wood panels, or acrylic paper. Ensure it’s primed and ready to accept the paint.
4. Mixing Containers
Use plastic cups or squeeze bottles for mixing and pouring your paint. You’ll need separate containers for each color.
5. Stirring Sticks
Have wooden sticks or plastic utensils on hand for mixing the paint and pouring medium.
6. Silicone Oil or Additives
Silicone oil or other additives can create cells and interesting patterns in your pour. A small amount of silicone oil or silicone spray is commonly used for this purpose.
7. Drop Cloth or Plastic Sheet
To protect your workspace from drips and spills.
8. Palette Knife or Torch
A palette knife can help spread and manipulate the paint on the canvas, while a torch or heat gun can be used to pop air bubbles and enhance cell formation.
The Pouring Process
Acrylic pouring involves several key steps to create vibrant, flowing compositions. Here’s a step-by-step guide:
1. Prepare Your Workspace
Cover your work surface with a drop cloth or plastic sheet to protect it from paint drips and spills. Ensure that your painting surface is level and stable.
2. Mix Your Paint
In individual cups or containers, mix your acrylic paint with the pouring medium to achieve the desired consistency. The mixture should flow smoothly but not be too thin. Experiment with different ratios of paint to pouring medium to achieve various effects.
3. Add Color to the Pouring Cup
Layer your paint colors in a single cup or container. You can pour the colors one by one or create a more intricate design by pouring them from a higher distance to create layers of paint.
4. Pour the Paint
Now comes the exciting part. Carefully pour the mixed paint onto your canvas in one of several pouring techniques:
Dirty Pour
Pour the layered paint onto the canvas all at once, creating a blend of colors as they mix together.
Flip Cup
Place the canvas face down on top of the cup containing the paint and then flip them together. Lift the cup, allowing the paint to flow onto the canvas.
Puddle Pour
Pour different colors in a puddle on the canvas and then tilt the canvas to spread and manipulate the paint.
Swipe Technique
Pour a base color on the canvas and use a palette knife or other tool to swipe across the paint, pulling the colors underneath to create cells and patterns.
5. Tilt and Manipulate
Once the paint is on the canvas, tilt it in various directions to spread the paint and create patterns. You can use a palette knife or other tools to manipulate the paint further, creating swirls, lines, or other effects.
6. Create Cells
To enhance the appearance of cells (small, round areas where the paint has separated and formed interesting patterns), you can add a few drops of silicone oil or other additives to the paint before pouring. Use a torch or heat gun to heat the surface and encourage cell formation.
7. Allow to Dry
After you’ve achieved the desired composition, let your artwork dry completely. Drying times can vary depending on the thickness of the paint and the environmental conditions. It’s essential to be patient and allow the artwork to dry naturally.
8. Varnish and Seal
Once your acrylic pour is completely dry, you can apply a varnish or sealant to protect the surface and enhance the colors. Choose a matte, satin, or glossy finish based on your preferences.
Tips and Techniques for Acrylic Pouring Success
1. Experiment with Consistency
Adjust the thickness of your paint mixture by adding more or less pouring medium until you find the right flow for your desired effect.
2. Mix Paints Thoughtfully
When layering colors in a pouring cup, think about how they will interact. Experiment with complementary and contrasting colors to create dynamic compositions.
3. Practice Control
Control the flow of paint by tilting your canvas strategically. Tilting too quickly or aggressively can muddy colors, while slow and deliberate tilting can create more defined patterns.
4. Use Gravity
Allow gravity to work in your favor by tilting the canvas in different directions. You can also prop up one side of the canvas to encourage paint flow in a particular direction.
5. Explore Different Techniques
Don’t be afraid to experiment with various pouring techniques, additives, and tools to create unique effects in your artwork.
6. Maintain Clean Tools
Keep your mixing containers, stirring sticks, and pouring tools clean to prevent unwanted contamination of your paint mixtures.
7. Protect Your Lungs
If you’re using silicone oil or spray, ensure proper ventilation or use a mask to protect yourself from inhaling fumes.
8. Embrace Mistakes
Acrylic pouring can be unpredictable, and not every pour will turn out as expected. Embrace the element of surprise and learn from each attempt.
Conclusion
Acrylic pouring is a dynamic and captivating art form that offers endless possibilities for creativity and self-expression. With the right materials, techniques, and a willingness to experiment, you can create stunning abstract artwork that is both visually striking and deeply satisfying to create. Whether you’re a beginner or an experienced artist, acrylic pouring provides a unique and enjoyable way to explore the world of fluid art and unlock your artistic potential. So, gather your materials, set up your workspace, and embark on your acrylic pouring journey to create beautiful and mesmerizing abstract compositions.